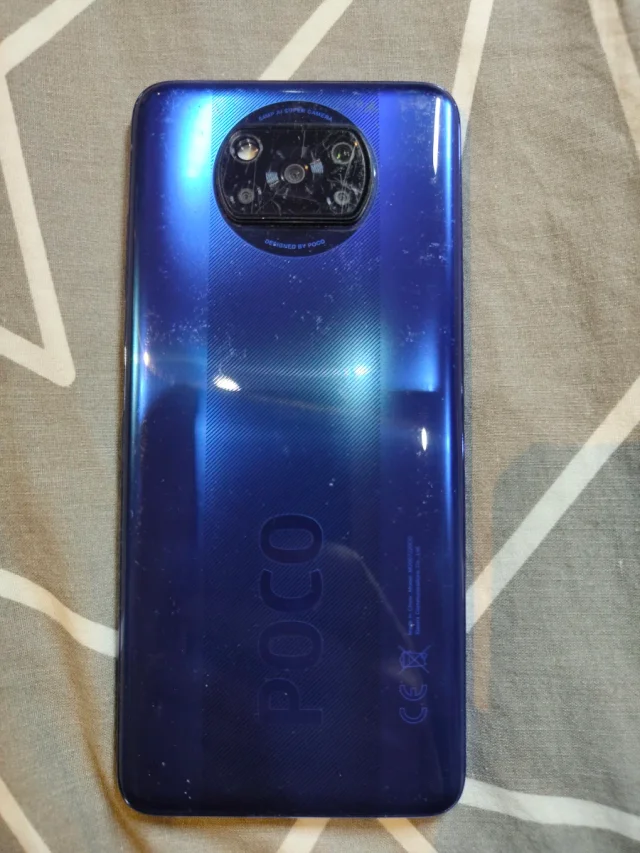
How to Install postmarketOS on Xiaomi Poco X3
May 25, 2026
Mobile hardware capabilities have advanced significantly in recent years. It is incredible how much power we carry in our pockets every day, which often remains largely underutilized.
For a long time, I had been considering rooting my phone, especially lately as Android seems to be becoming increasingly closed off. Then, one day on Reddit, I discovered postmarketOS, which allows you to install Alpine Linux on various models (see supported hardware). This sparked the idea: why not try to install Linux on a phone and use it as a mini-PC?
Since the second-hand market in Spain has an abundance of Xiaomi devices, I decided to buy a Poco X3, which has support for most of the features.
- Processor: Qualcomm Snapdragon 732G
- RAM: 6GB / 8GB
- Storage: 64GB / 128GB
Prerequisites
Mobile Setup
- Enable Developer Mode: Go to Settings > About Phone and tap on the “MIUI Version” multiple times.
- Enable USB Debugging: Go to Settings > Additional Settings > Developer Options and enable USB Debugging.
- Mi Unlock Status:
- Associate your Mi Account in the Developer Options.
- Important: Turn off Wi-Fi and use mobile data (with a SIM card inserted) when associating your account.
Unlocking the Bootloader
Mobile
- Boot the device into Fastboot mode (press and hold Power + Volume Down).
Windows
Sadly, the official application for unlocking the device only works on Windows. Fortunately, I was able to download the Windows 10 ISO for free from the Microsoft website and install it using VirtualBox. To use VirtualBox correctly, you must install the necessary Extension Pack to allow the virtual machine to access the host system’s USB devices (I am using Ubuntu).
- Extract the Mi Unlock tool files.
- Install the required drivers (run the
.exedriver installer). - Open the Mi Unlock tool and sign in with your Mi Account via SMS code.
- Request the unlock. Note: You may need to wait up to one week before you can repeat the process to finalize the unlock.
Flashing postmarketOS
Before we begin flashing, you will need to install the necessary tools on your Ubuntu system. This includes adb, fastboot, and pmbootstrap. You can install adb and fastboot using:
sudo apt install adb fastboot
You can follow the official installation guide for pmbootstrap here.
To install pmbootstrap using uv, you can run:
uv tool install --python 3.11 git+https://gitlab.postmarketos.org/postmarketOS/pmbootstrap.git
pmbootstrap --version
Step 1: Flashing u-boot
Before flashing, you must download the correct u-boot image for your specific device. There are two different versions of u-boot-sm7150-xiaomi-surya depending on the display panel used.
If you have USB Debugging enabled, you can check which panel your device has by running the following command:
$ adb wait-for-device && adb reboot && adb logcat | grep "panel name is"
You will see something similar to 06-12 14:45:35.085 999 1216 I Dpps : Init():63 panel name is nt36672c_huaxing_fhd_video_mode_dsi_panel
You can find the available releases here.
Once you have the correct image, reboot the device into Fastboot mode (press and hold Power + Volume Down) and run the following commands in your terminal:
$ fastboot erase dtbo
$ fastboot flash boot u-boot-sm7150-xiaomi-surya-huaxing.img
Step 2: Installing postmarketOS with pmbootstrap
Once u-boot is flashed, the next step is to build and install the postmarketOS image using pmbootstrap. This process is divided into two main stages: initialization and installation/flashing.
1. Initialization
First, you need to configure your environment by running:
$ pmbootstrap init
During the initialization, you will be prompted with several configuration options. Based on my experience, here is a summary of the settings I used:
- Work/pmaports paths: The default paths are usually fine.
- Release channel: I chose
v25.12for better stability. - Vendor & Device: I selected
qcomas the vendor andsm7150as the device codename. - Audio/WiFi backends: I kept the defaults (
pulseaudioandwpa_supplicant). - User Interface: I selected
consolefor a minimal setup, but you can choose others likephoshorplasma-mobileif you want a graphical interface. - Systemd: I kept the default setting.
- Extra packages: I added
openssh,nano,htop,tmux,networkmanagerto have essential tools ready upon boot. - Locale & Timezone: Set to
es_ESandEurope/Madrid. - Hostname: I named my device
pocox3-1. - SSH keys: I allowed copying my public keys to the device for easy remote access.
2. Installation and Flashing
After the initialization is complete, you can proceed to build the images and flash them to your device:
# Build and install the rootfs
$ pmbootstrap install

# Flash the rootfs to the device
$ pmbootstrap flasher flash_rootfs

# Reboot the device
$ pmbootstrap chroot fastboot reboot
Post-install
Since our goal is to use this device as a server, we decided not to install any graphical user interface. This means that although the phone has booted successfully, it will only show a terminal on the screen.
To control the device, we will connect via SSH. By default, a network is automatically created over the USB cable, allowing us to connect immediately. Once connected, we will configure the Wi-Fi to allow the device to function independently without the need for the USB cable.
First, connect to the device via SSH:
$ ssh 172.16.42.1
Then, configure the Wi-Fi connection:
$ sudo nmcli device wifi connect "$SSID" password "$PASSWORD" ifname "wlan0"